Introduction
In this article, I will clearly tell you about my experience of creating animated emoticons for the BTTV extension and about the problems I encountered, as well as share the most optimized sequence of actions.
It took me more than one evening to find the right tools, as well as to realize that all this time I was hindered by one unpleasant bug of the video editor, because of which I could not achieve the desired result. It is not a fact that you will encounter the same glitch (perhaps the reason is in the specific configuration of my PC), and it is possible that you will use other, more advanced applications. I, by tradition, will only use free programs and services (OBS, kdenlive video editor and EZGIF website).
Step 1. Preparing video shooting in OBS
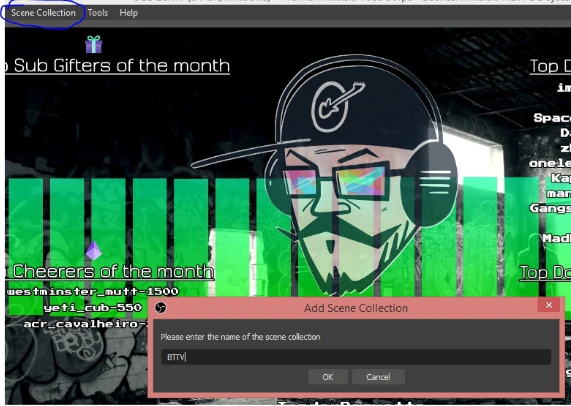
So, first of all, in the upper panel of OBS, we find the “Scene Collection” and create a new one.
Next, click on the “Profile” in the upper panel and also create a new one (remove the check mark from the auto-customizer checkbox, if there is one).

Go to “Settings”.

In the settings, go to the “Video” tab and set any convenient values in the “Resolution Base”, but with a “square” ratio of 1:1 (for example, 500 x 500), the output resolution can be duplicated from the “Base”, or you can immediately make 112×112 (the size of the emotes in BTTV). In any case, in the next two steps, you can rescale the image to the required values. The main thing is that the picture is square. We do not touch the other values.

Go to the “Output” tab and in the “Recording” subsection, specify the path to save the video and the mp4 format (or any other format that yourvideo editor supports). Click “Apply” and go to our empty stage.

Add our video capture source (for example, a webcam) and manually set its resolution (in my case, 1920×1080) in its settings, and then align our source horizontally. In general, there are no specific recommendations here, and for each specific case, you should select such video resolutions in the profile and camera settings that will provide the right frame for shooting.

Here’s what I got:

I think it’s clear that for a transparent background, you need (preferably) a green or blue background so that you can cut it out.
OBS has a very good Chromakey filter built in, which bypasses many similar video editing tools in terms of convenience and accuracy. But, unfortunately, OBS does not support recording with transparency (although, perhaps, there are craftsmen who wrote a script for such purposes). So we’ll do this: apply a chromakey filter, adjust it to our background, and then put a layer in the scene with a classic green screen fill that any video editor can easily recognize.
Right-click on the video capture source, select “filters” and in the “Effects” section add the chromakey and suffer with the settings.

After setting up the background, add the “Color” source to the scene (the icon with a brush), select the color #00ff00 (bright green) and specify the height-width of our profile. And we put this layer under our video source.

Now click “Start recording” and make a high-quality face in the frame for the future animated emoticon. Technically, we will no longer need OBS, and if we are sure of what we have recorded, we can close it.
*Another digression
Technically, if you have a video with a static background, you can go to the EZGIF service, upload the video there, and use the appropriate tools to replace green color with transparency. The problem is that it doesn’t work very well with “custom” colors. Therefore, before going to this website, we will need to dig a little more into the video editor. Therefore, first we will deal with the video editor, and then we will return to EZGIF and consider all the nuances. In general, I recommend that you proceed immediately to step 3 and if this method does not achieve a good result, then go back to step 2.
Step 2. Making a Mov file with transparency
I will use the free and registration-free kdenlive program https://kdenlive.org/en/. It is simple, convenient, but also not devoid of flaws and bugs (I will mention the points that I encountered, but it is possible that you will have everything working properly).
If you use another video editor, you will need to learn how to assign transparency to the video (usually in the mov and webm formats).
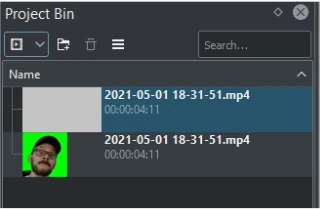
Run the program and drop in the Project Bin our video shot from OBS. When the program asks whether to configure the project for our video, we agree so that our project will be in the same resolution as our video.

If the Project Bin file is displayed with a gray icon, then you need to drop it in Project Bin again.
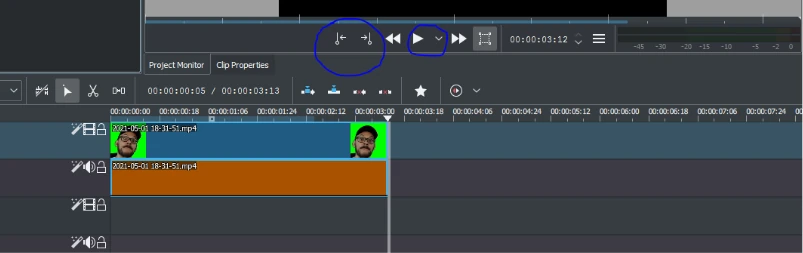
We take the video to the timeline, if necessary, we cut it (in EZGIF, if anything, you can also delete extra frames, but in the video editor it’s still easier) and select the zone of our video using special keys on the timeline (after selecting it, you can select the Loop Zone mode in the context menu of the Play button to loop playback).
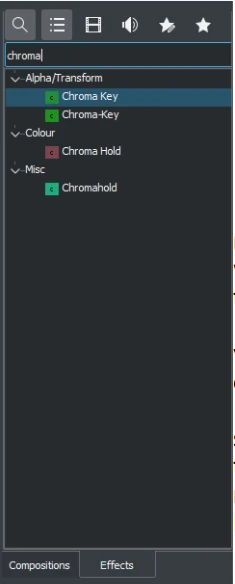
In the top View menu, we put the checkboxes in Effects and Properties (if, of course, there are no checkboxes) and in the Effects menu that appears in the interface, click on the magnifying glass and enter the Chroma-key. In kdenlive, there are two effects for the chromakey and they differ in the number of settings. We take the first one, which is simpler. Just hold down the left mouse button and throw the icon with the effect in our video on the timeline.
Click on our video on the timeline. In the Properties section, you should see the setting for the Chromakey:
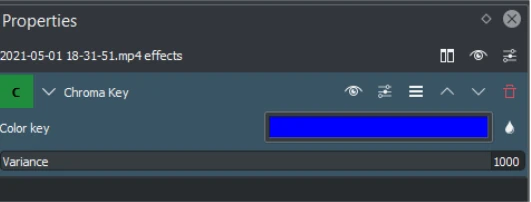
In the Color key, we set our green color, and reduce the Variance parameter to those values at which the green background will not be visible, and the visible image will not have distortions.
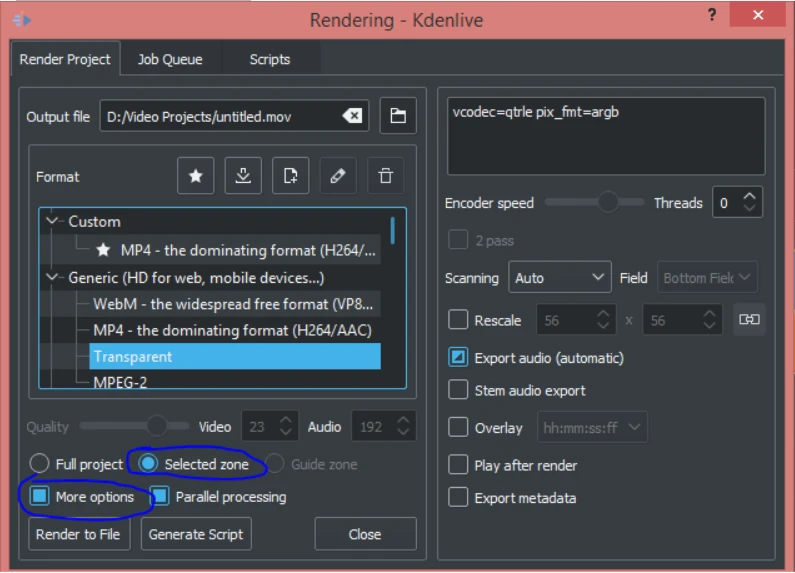
When everything is ready, make sure that our video is highlighted with borders on the timeline and click the Render button at the top of the screen.
In the window that appears, specify the path to save, select Transparent format, put the checkbox in the selected zone, as well as in More options, if you need to rescale the video item rescale. And click Render to File.
What, in fact, is the bug that I had a place to be: transparency was correctly assigned only for the first file that appeared on the timeline. That is, after rendering the first video, and I decide to make some changes or then make another fragment, then after re — rendering-transparency is not assigned to the file! This is solved by closing kdenlive, removing the process in the Task Manager (yes, I often have the kdenlive process hanging out in the task manager, after closing) and restarting. Inconvenient, but it works.
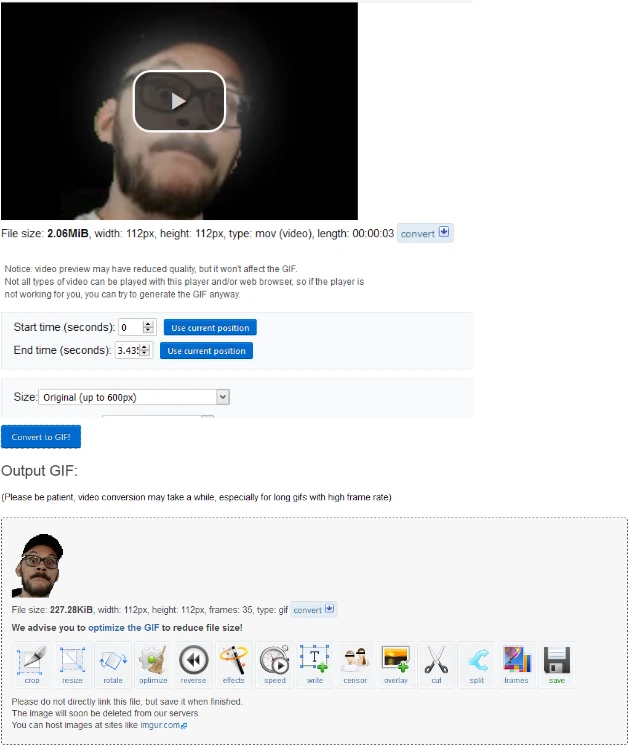
Now open it https://ezgif.com/, go to the Video to GIF section, upload our mov file and select Preserve Transparency in the Method menu. Click Convert to GIF. Further, if necessary, we do additional processing (for example. Rescale – it’s Resize here, if you didn’t do it in the previous steps).
After all the necessary manipulations, you just need to click Save and save our animation and upload it to BetterTTV.
Step 3. EZGIF
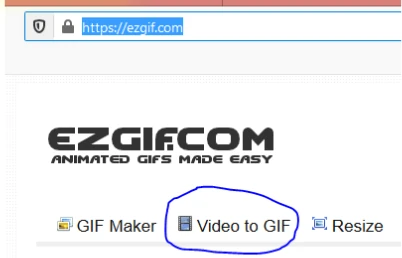
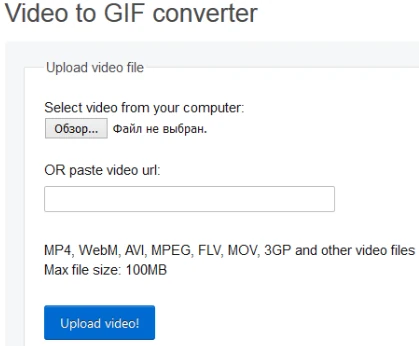
Now consider the option without a video editor. Go to the site https://ezgif.com/ and go to the Video to GIF tab.
We upload our video that we shot in OBS.
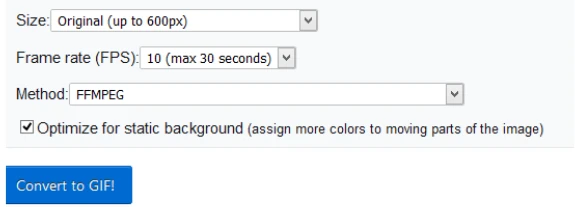
Put the checkbox in Optimize for Static Background and click Convert to GIF.
Select a section Effects.

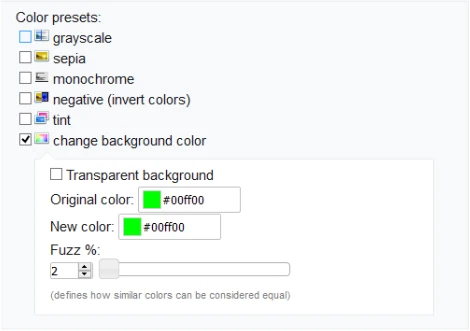
Here, before using the Replace color with transparency tab (which would be logical, but this way the effect either does not occur, or it turns out very “dirty”), in the Color Presets tab, you need to set the checkbox to change background color and assign the Original Color and New Color to the same color (the same one that we filled in the background in OBS). We leave the Transparent Background checkbox empty. At the bottom of the screen, click Apply Selected.
Our processed image will appear at the bottom. Click Effects again and now use the Replace color with transparency tab. We put the custom (HEX) checkbox and insert the code of our color there. You also need the don’t stack frames checkbox.

Again, click Apply Selected and admire the results.

Again, click Apply Selected and admire the results. It turned out well, but there were still artifacts. You can try using the Optimize tab, select Optimize Transparency there, and use the Fuzz parameter to try to improve the image. Although, as a rule, this does not helps.

The other tools allow you to edit our animation in every possible way: crop, scale, rotate, reverse, change the speed, export individual frames, delete or duplicate frames within the animation, write text, overlay, and so on. A lot of useful and interesting things in one place.

In conclusion
Well, the material again turned out to be very voluminous, despite the fact that all this is technically simple, especially if you bypass the video editor. But I tried to describe everything in detail, so that even those with minimal knowleledges could cope.